
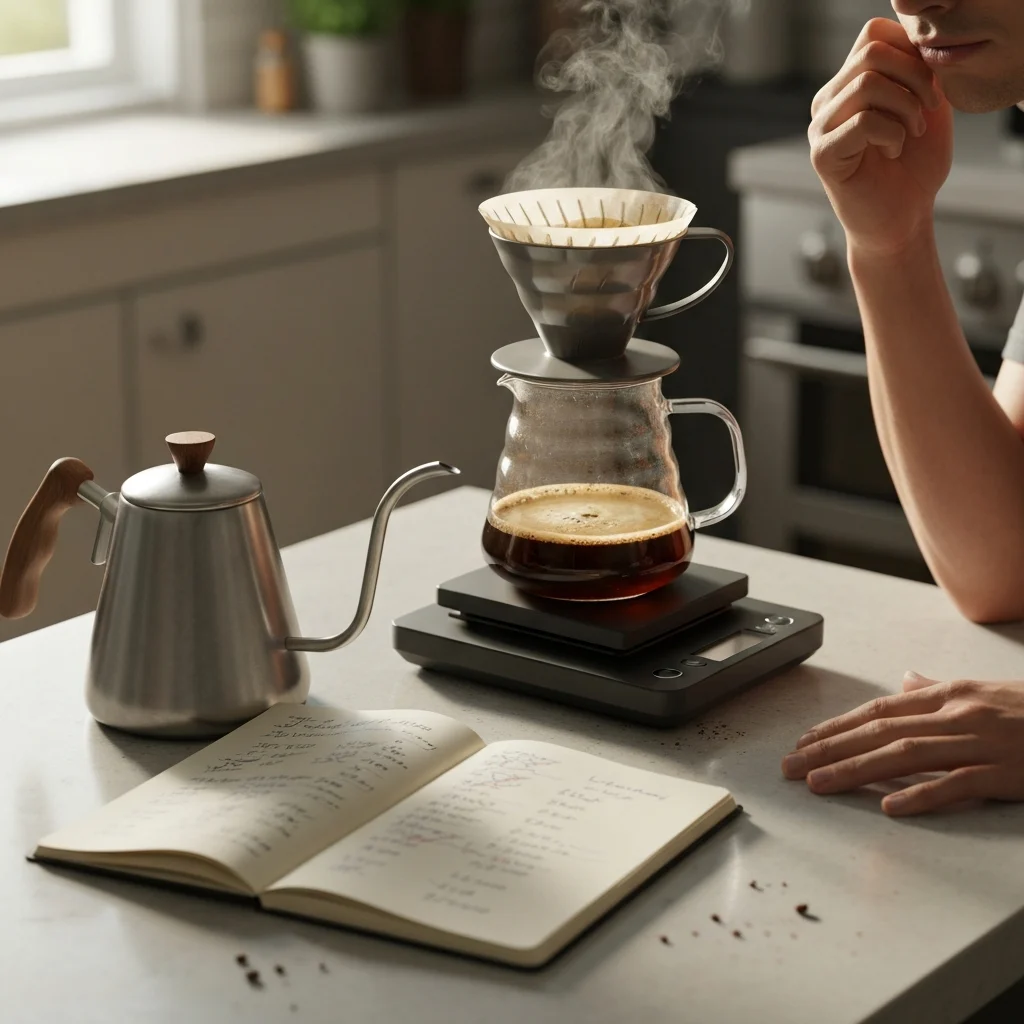
Quick answer: Weak pour over coffee is almost always under-extracted. The usual causes are a grind that’s too coarse, or one so fine it chokes the bed and causes channeling, plus a fast or uneven pour, a skipped bloom, water below 195°F (90°C) or too little coffee. Reset to a medium grind, bloom for 30–45 seconds, pour slowly, then adjust one variable at a time.
You have the gooseneck kettle, the burr grinder, the scale and fresh beans, yet your pour over still tastes thin and watery. It’s one of the most common pour over frustrations, and it can be fixed by working through the variables below one at a time.
In this guide 7 sections
Why Is My Pour Over Coffee Weak?
Before we start tweaking your technique, it is essential to understand the core concept at play: extraction. In simple terms, extraction is the process of dissolving flavors from coffee grounds into water. Everything you do during the brewing process influences how much flavor you extract. The goal is to hit that “sweet spot” of ideal extraction.
When you get it wrong, you end up on one of two ends of the spectrum:
- Under-extraction: This is the most likely cause of your weak coffee. When water passes through the grounds too quickly or is not hot enough, it does not have enough time or energy to pull out the desirable sugars and oils. The result is a coffee that tastes weak, sour, salty, and lacks sweetness and body.
- Over-extraction: This is the opposite problem. The water spends too much time in contact with the coffee, pulling out too many soluble compounds, including the unpleasant bitter and astringent ones. This results in a coffee that tastes harsh, bitter, and drying.
Your watery, flavorless brew is a classic sign of under-extraction. Even though you followed a recipe, one or more variables are preventing the water from doing its job effectively. Let’s start dissecting those variables, beginning with the most common culprit.
Is Your Grind Size the Problem?
Grind size is arguably the single most important variable in pour over coffee. It directly controls the rate at which water flows through the coffee bed, which in turn determines the contact time and overall extraction. A finer grind creates more surface area and a more compact bed of coffee, slowing down the water flow and increasing extraction. A coarser grind does the opposite, allowing water to pass through quickly, which decreases extraction.
Why does grinding finer make my pour over weaker?
Here is where many people get stuck. Logic says if your brew time is too fast and the coffee is weak, you should grind finer. But sometimes grinding finer makes the coffee even weaker. This counterintuitive result is almost certainly caused by a phenomenon called channeling.
Channeling occurs when water is unable to flow evenly through the entire bed of coffee grounds. Instead of saturating everything uniformly, it finds the path of least resistance and carves small “channels” directly through the grounds to the bottom of the filter. When this happens, the water in the channels flows very quickly, barely interacting with the coffee it touches. Meanwhile, large portions of the coffee bed remain under-saturated and barely contribute to the brew.
What does this mean for you? When you grind too fine for a pour over, you can choke the brewer. The coffee bed becomes so dense that water struggles to penetrate it. Under the pressure of the water being poured on top, it punches through weak spots, creating channels. This results in a brew that is both under-extracted (because most grounds are bypassed) and sometimes bitter (because the small amount of coffee in the channel gets over-extracted). It explains why brew time might not change much while the flavor drops. A slow or stalled drawdown is a related symptom – see our guide to why a V60 stalls.
What grind size is best for pour over?
So, what is the right grind size? For most pour over brewers like the V60 or Kalita Wave, you should aim for a consistency resembling coarse sand or table salt. It needs to be noticeably finer than what you would use for a French press, but significantly coarser than an espresso grind.
To find your perfect setting, it is best to start fresh.
- Go Coarser: Adjust your grinder to a setting that looks like coarse sand. This might be much coarser than you have been trying.
- Brew a Cup: Follow your recipe and taste the result. It will likely still be under-extracted and a bit weak or sour, but this is your new baseline.
- Adjust and Repeat: Make a very small adjustment to a finer setting on your burr grinder and brew again. Taste it. You should notice an increase in sweetness and body.
- Find the Limit: Continue this process of making small adjustments finer until the coffee begins to taste bitter or astringent. Once you hit that point, dial it back one or two settings to the previous, sweeter spot. You have found the ideal grind size for that coffee.
Dialing in Your Brew Time and Pouring Technique
While grind size is king, how you introduce water to the coffee grounds is equally critical. Your pouring technique directly impacts agitation, saturation, and channeling. A fast, messy pour can ruin a perfect grind.
The Importance of a Slow, Controlled Pour
Pouring too quickly or too aggressively is another major cause of channeling. Dumping a large amount of water into the brewer all at once agitates the coffee bed violently, forcing channels to form. This is why a gooseneck kettle is highly recommended for pour over; it gives you precise control over the flow rate and direction of the water. Our guide to pour speed goes into more detail.
Your goal is to maintain a gentle, consistent stream of water.
- Pour in slow, concentric circles, starting from the center and working your way out.
- Avoid pouring directly onto the paper filter, as this allows water to bypass the coffee entirely.
- Try to maintain a consistent water level in the brewer throughout your main pours. Do not let it drain completely between pours, but also do not flood it to the brim.
Mastering the Bloom
The first pour, known as the coffee bloom, is a critical step for preventing channeling and ensuring an even extraction. Freshly roasted coffee contains trapped carbon dioxide (CO2) from the roasting process. When hot water hits the grounds, this gas is rapidly released, causing the coffee bed to expand and bubble. If you skip the bloom and go straight into your main pour, these escaping gas pockets will repel water and create dry spots, leading to uneven extraction.
To properly bloom your coffee:
- Start your timer and pour about twice the amount of water as you have coffee (e.g., for 19g of coffee, use about 40-50g of water).
- Pour slowly, making sure to saturate all the grounds evenly.
- Give the brewer a gentle swirl to ensure there are no dry clumps.
- Wait for 30 to 45 seconds. You should see the coffee bed rise and bubble before settling down. Now you are ready for your main pour.
Pulse Pouring for Better Control
Instead of pouring all your water at once, breaking it up into smaller, separate pours (or “pulses”) can give you greater control over the total brew time and extraction. This method helps maintain a stable temperature in the slurry (the mix of coffee and water) and gently agitates the grounds with each pour.
A great starting recipe for a 300g cup using 19g of coffee could look like this:
- 0:00 – 0:45: Bloom with 50g of water. Let it sit for 45 seconds.
- 0:45 – 1:15: Begin your first main pour. Gently pour in a circular motion until the scale reads 180g (a 130g pour).
- 1:15 – 1:45: Let the water level drop slightly, then begin your final pour. Gently add the remaining 120g of water until the scale reads 300g. Give the brewer a final, gentle swirl to flatten the coffee bed.
- Your brew should finish draining (drawdown) between 2:45 and 3:30.
Fine-Tuning Your Recipe Variables
If you have corrected your grind size and pouring technique and the coffee is still not quite right, it is time to look at the other variables in your recipe.
Coffee to Water Ratio
The ratio of coffee to water determines the strength of your final cup. A common starting range is 1:15 to 1:18 (1 gram of coffee for every 15–18 grams of water); the recipe above uses 19g to 300g, about 1:15.8. If your coffee consistently tastes weak even with a good extraction, you might simply prefer a stronger brew. Do not be afraid to adjust. Try using more coffee, such as 20g for 300g of water (a 1:15 ratio). This is often the simplest fix for weak, watery coffee. You can learn more about finding your ideal strength in our guide to the perfect coffee to water ratio.
Water Temperature
Water temperature is the energy source for your extraction. The hotter the water, the more efficiently it dissolves the flavorful compounds in coffee. The recommended range is typically 195°F to 205°F (90°C to 96°C). Around 200°F (93°C) is a solid starting point.
However, this is not a strict rule.
- For light roasts: These beans are denser and less soluble. Using water just off the boil (208°F to 212°F or 98°C to 100°C) can help you extract their complex, bright flavors more effectively. If your light roast tastes sour and weak, try increasing your temperature.
- For dark roasts: These beans are more brittle and soluble. A slightly lower temperature (195°F to 200°F) can prevent you from extracting too many bitter notes.
Other Factors You Might Be Overlooking
Sometimes the problem is not with your process, but with your materials.
The Coffee Itself: Freshness and Roast Level
You can have the best technique in the world, but you cannot make great coffee from bad beans. Coffee is a fresh agricultural product. The amazing flavors and aromas begin to fade significantly a few weeks after the roast date. If your coffee is old, from a supermarket shelf with no roast date, it will likely taste flat, papery, and lifeless no matter what you do.
Your Brewer Type (V60, Kalita Wave, etc.)
While the principles are universal, different pour over brewers are designed with different flow rates in mind. A conical brewer with a large hole like the Hario V60 will naturally drain faster than a flat bottom brewer like the Kalita Wave. It is helpful to look up specific techniques tailored to your device. For example, our V60 brewing method guide can provide targeted advice for that popular brewer.
Water Quality
Water makes up over 98% of your final cup, so its quality matters. Tap water with very high mineral content (hard water) or off-flavors (like chlorine) can negatively impact your coffee’s taste. On the other hand, using distilled water (which has no minerals) will result in a very flat, empty-tasting cup. For most people, a simple carbon filter pitcher provides a great baseline. Read more in our guide to tap vs. filtered water for coffee.
How Do I Fix Weak Pour Over Coffee? Step by Step
Here is the order to work in. Remember the golden rule: change only one variable at a time.
- Reset Your Grind: Start over by setting your grinder much coarser than you think, to the consistency of coarse sand.
- Focus on Technique: Brew a cup using a slow, gentle pour and a proper 45 second bloom. Taste it.
- Grind Finer (Slightly): The coffee from step 2 was probably weak. Now, adjust your grinder just one or two notches finer and brew again, keeping all other variables the same.
- Evaluate the Taste: Did the coffee get sweeter, more balanced, and have more body? If yes, you are on the right track. Repeat step 3.
- Find the Edge: Keep making small, incremental adjustments finer with each brew until the coffee starts to taste bitter or astringent. That is your sign that you have gone too far. Go back to the previous setting.
- Tweak Other Variables: If you have found the best tasting grind but still want the coffee stronger, now is the time to adjust your coffee-to-water ratio (e.g., use 21g of coffee instead of 19g) or increase your water temperature slightly.
Frequently Asked Questions
Why is my pour over weak even though I followed the recipe?
Recipes assume a grind setting that rarely transfers exactly between grinders and beans. If the grind is too coarse, water runs through too quickly; if it’s too fine, the bed can choke and channel. Dial in the grind for your own setup, then check your pour and bloom.
Should I grind finer if my pour over tastes weak?
Usually, yes, but in small steps. If grinding finer makes the coffee weaker or bitter-and-thin, you’ve likely gone too fine and caused channeling, so go coarser and pour more gently.
How long should a pour over take?
For the 300g recipe above, the drawdown should finish between about 2:45 and 3:30. Much faster usually means the grind is too coarse; much slower can mean it’s too fine.