
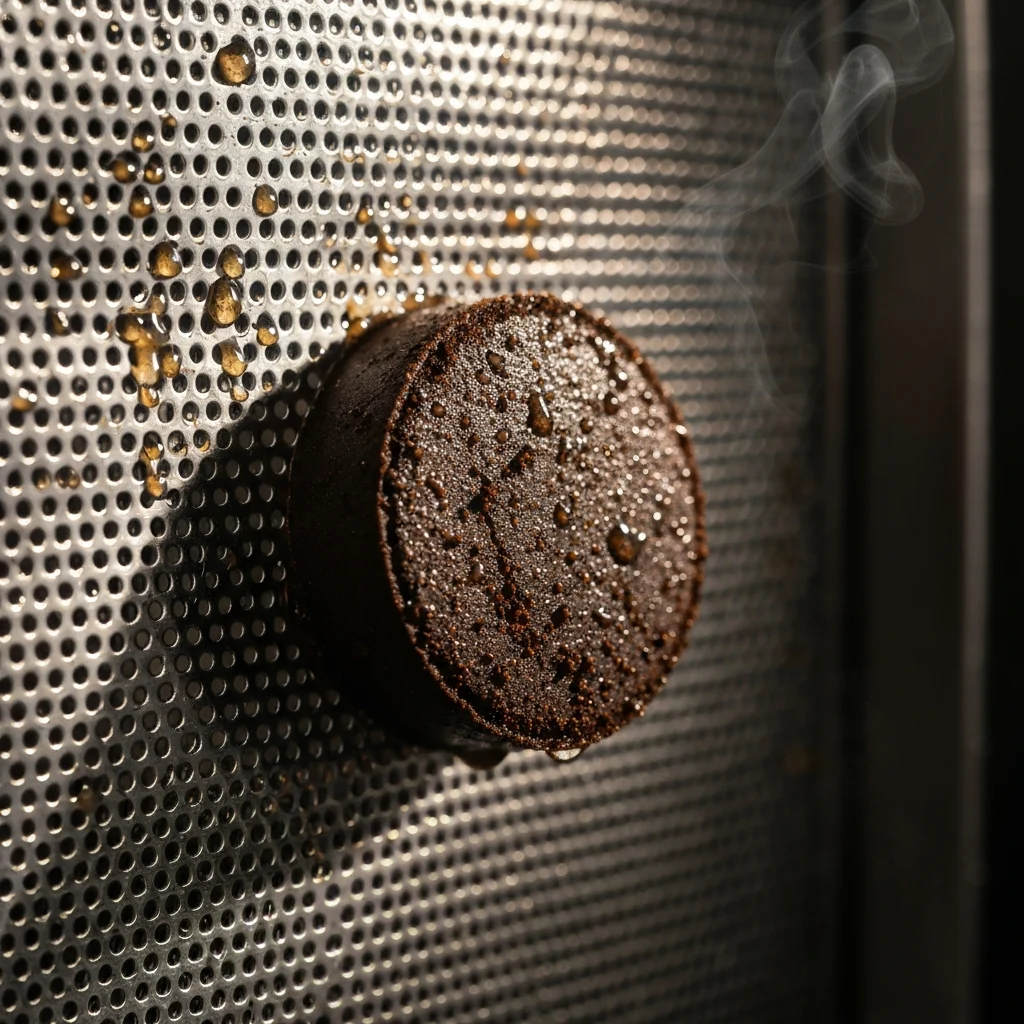
Quick answer: An espresso puck usually sticks to the shower screen because the basket is overdosed, leaving no headspace for the coffee to swell, often made worse by a very fine grind or a machine without a three-way solenoid valve. Weigh your dose, check headspace with the coin test, wait 10 to 15 seconds before unlocking, and keep the screen clean.
You unlock the portafilter after a good shot and the basket is empty: the puck is stuck to the shower screen. It’s messy but fixable, and the cause is usually a combination of dose, grind and how your machine releases pressure.
In this guide 8 sections
- Why is my espresso puck sticking to the shower screen?
- How much headspace does an espresso puck need?
- Why does dosing by weight matter?
- Does grind size make the puck stick?
- How does the machine’s pressure release affect the puck?
- How to fix a stuck espresso puck, step by step
- Does a stuck puck ruin the espresso?
- Frequently asked questions
Why is my espresso puck sticking to the shower screen?
- Wrong headspace: the gap between the tamped coffee and the shower screen is too small (or, for a soupy puck, too big).
- Inconsistent dosing: scoops or “fill and level” give a different amount of coffee every time.
- A very fine grind: it makes a compact, cohesive puck that seals against the screen.
- No three-way solenoid valve: pressure stays on top of the puck after the shot.
How much headspace does an espresso puck need?
Headspace is the gap between the top of the tamped coffee and the shower screen. When the shot starts, water fills that gap and the grounds absorb it and swell. The right headspace lets the puck expand without being pressed into the screen.
Overdosing: the usual cause of a stuck puck
Too much coffee means the grounds are already touching, or nearly touching, the screen before brewing starts. There is no room to expand, so the water pressure presses the puck against the screen and it stays there.
Underdosing: a wet, soupy puck
Too little coffee leaves a large gap. The puck doesn’t stick, but it never firms up either: you get a sloppy, muddy puck and a wet basket.
The coin test
- Dose and tamp as usual.
- Place a small coin flat on top of the tamped coffee.
- Lock the portafilter into the group head, then immediately unlock it.
- If the coin has left a clear imprint, the coffee is touching the screen. Reduce the dose by about 0.5 g and repeat until the coin barely marks the puck.
Why does dosing by weight matter?
Overfilling the basket and levelling it off feels consistent, but it isn’t. Ground coffee varies in density with the bean, roast level and how clumpy the grind is, so a level basket of fluffy grounds can weigh noticeably less than a level basket of dense ones.
A scale that reads to 0.1 g removes the guesswork: 18 g is always 18 g. It lets you find the dose that leaves the right headspace and keeps your coffee to water ratio repeatable. You don’t need an expensive barista scale, just an accurate one. Consistent dosing also fixes many inconsistent espresso shots.
Does grind size make the puck stick?
It can. Finer particles bind more tightly under pressure and form a dense, cohesive puck, like wet sand compared with wet gravel. That solid puck seals against the screen more easily, especially if you’re already close to overdosing. If you recently ground finer to slow a shot down after changing beans, that may be the trigger; see when grinding finer helps and when it harms.
How does the machine’s pressure release affect the puck?
Machines with a three-way solenoid valve
Many mid-range and prosumer espresso machines have a three-way solenoid valve. During the shot it sends water from the boiler to the group head. When you stop the pump, it switches over and vents the pressure and excess water above the puck into the drip tray, which is the “psssht” you hear. The puck is left relatively dry and firm. If your machine has this valve and pucks are still wet and sticky, the cause is almost certainly dose or grind.
Machines without one
Many entry-level machines skip the valve. When the pump stops, pressure and water stay trapped above the puck and bleed off slowly, so the puck is wetter and more likely to come away stuck to the screen if you unlock straight away. The simple fix is to wait: leave the portafilter locked in for an extra 10 to 15 seconds after the shot so the pressure can dissipate.
How to fix a stuck espresso puck, step by step
- Weigh your dose and start at the dose your basket is designed for.
- Check headspace with the coin test and lower the dose in 0.5 g steps if the coin leaves a clear mark.
- Check the grind. If shots take 35 to 40 seconds or more, you may be grinding very fine to make up for a small dose. Try a slightly larger dose (still passing the coin test) with a slightly coarser grind.
- Pause before unlocking, especially on a machine without a three-way valve.
- Keep the shower screen clean. Old coffee oils make a sticky surface. Brush the screen regularly and backflush if your machine has a three-way valve.
Does a stuck puck ruin the espresso?
Mostly, no. The sticking happens after extraction, so the flavour is already set. The real costs are mess, a slower workflow and what it says about your process: a stuck puck is often a sign of inconsistent dosing, which does affect taste from shot to shot.
Frequently asked questions
Why is my espresso puck wet and soupy?
Usually too much headspace (dose too low for the basket) or a machine without a three-way solenoid valve, which leaves water sitting on top of the puck after the shot. Increase the dose slightly and wait a few seconds before unlocking.
How do I know if I’m overdosing the basket?
Do the coin test: place a coin on the tamped puck, lock in and remove the portafilter. A clear imprint means the coffee is touching the shower screen and the dose is too high.
Can a dirty shower screen make the puck stick?
It can contribute. Built-up coffee oils give the puck something to grip, so brush the screen regularly and backflush if your machine supports it.