
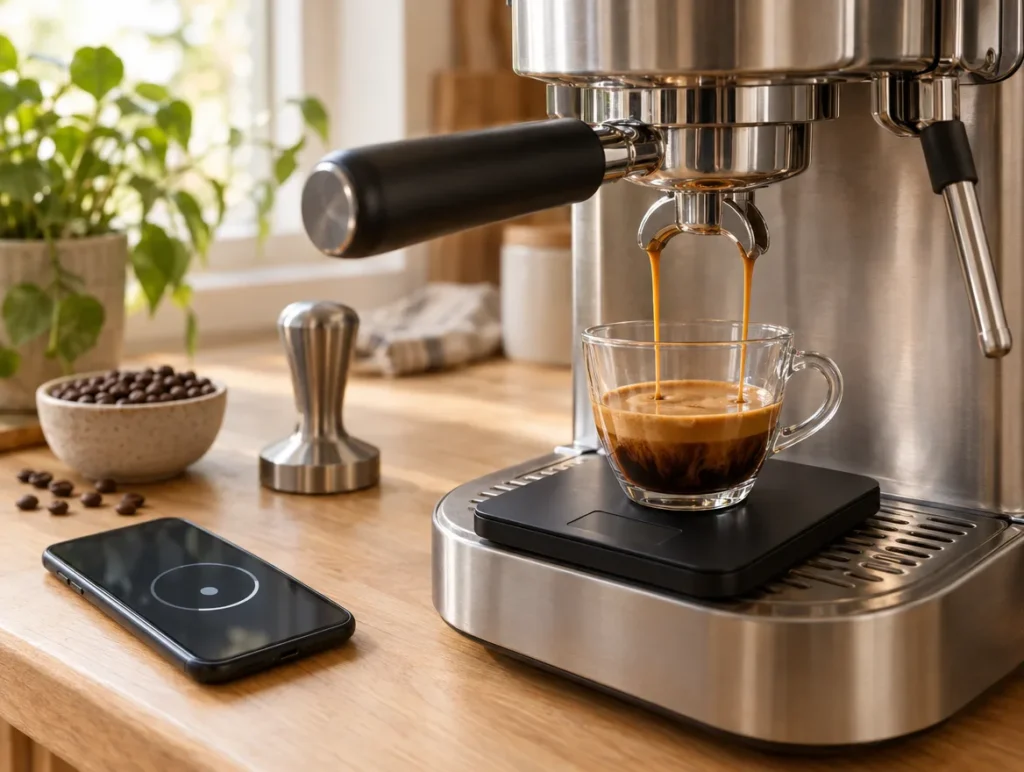
Quick answer: Start from a target recipe (for a medium roast, 18 g of coffee in and 36 g of espresso out in 25–30 seconds), pull a shot, and change one thing at a time. Fast and sour: grind finer. Slow and bitter: grind coarser. Spraying, or sour and bitter at once: fix your puck prep before you touch the grinder. The wizard below makes that call for you after every shot and keeps a log until the shot tastes right.
Dialing in espresso is a debugging loop. There’s a target, an observed result and a handful of inputs: grind, dose, yield, time and temperature. The fastest way to the answer is the rule every engineer learns early: change one variable, measure, repeat. Change two at once and you can’t tell which one helped. This wizard enforces that rule. It’s the third of our free coffee calculators, built in-house by Coffee Informer, and it runs entirely in your browser, so your shot log stays on your device.
- 1. Setup
- 2. Log shot
- 3. Next move
In this guide 8 sections
How to use the espresso dial-in wizard
- Weigh the dose. Put the ground coffee in the basket on a scale. Most double baskets hold 16–20 g.
- Weigh the yield. Put the cup on the scale, tare it, and stop the shot at the target weight. Weight is more reliable than volume because crema makes volume hard to read.
- Time it from the moment you press brew. The wizard has a built-in shot timer: tap Start with the brew button and Stop when you stop the shot.
- Taste it straight. Sour is sharp and thin. Bitter is harsh, dry and lingering. Then judge strength separately: watery, just right or too intense.
- Make the one change it gives you and pull again. Each shot goes into your log, with a chart of how your times are moving toward the target window.
How the wizard decides what to change
It checks for problems in a fixed order, because some faults hide others. A shot that channels will taste wrong at every grind setting, so there’s no point adjusting the grind until the puck is fixed.
- Choked shot. If it barely drips, grind clearly coarser, and check the basket isn’t overfilled.
- Channeling. Spraying, a sour-and-bitter taste, a fast shot that tastes bitter or a slow shot that tastes sour all point to water finding a weak path through the puck. The fix is puck prep: break up clumps, level the bed, tamp level. Our guides to bottomless portafilter spraying and clumpy grounds go deeper.
- Balanced taste and strength. You’re done, even if the time is outside the window. Breville notes that good espresso can take anywhere from about 20 to 40 seconds; taste beats the clock.
- Missed the target weight. If you stopped well past or short of the target and the taste matches that mistake, hit the target weight first. That alone may fix it.
- Time outside the window. Fast means grind finer and slow means grind coarser, scaled to how far off you were.
- In the window but not right. Small grind steps fix sour or bitter. Strength is fixed with yield: stop a few grams earlier for a stronger shot, or later for a gentler one. When the taste and strength are both off, a yield change can fix both at once.
If you use a pressurized (dual-wall) basket, the wizard switches to taste-first advice. Those baskets add their own resistance, so grind and time say less about the shot.
Espresso troubleshooting chart
| What you see and taste | Likely cause | First change |
|---|---|---|
| Fast and sour | Under-extraction | Grind finer |
| Slow and bitter | Over-extraction | Grind coarser |
| Barely drips | Choked: grind far too fine or basket overfilled | Grind much coarser |
| Sprays, or tastes sour and bitter at once | Channeling | Puck prep, then re-check grind |
| Fast and bitter | Channeling | Puck prep, then a step finer |
| On time, sour but strong | Under-extracted and concentrated | Let it run about 3 g longer |
| On time, bitter and thin | Over-extracted and diluted | Stop about 3 g earlier |
| Balanced but watery | Too dilute | Stop a few grams earlier |
For the background on each taste, see why coffee tastes sour and burnt vs over-extracted coffee. If the problem is that every shot comes out different, start with fixing inconsistent espresso shots.
Starting recipes by roast level
The wizard’s first target depends on the roast. These are starting points drawn from published roaster and retailer guides (see Sources), not rules:
| Roast | Ratio (in : out) | Target time | Water temperature, if you can set it |
|---|---|---|---|
| Light | 1:2.5 | 28–34 s | 95 °C (203 °F) |
| Medium | 1:2 | 25–30 s | 93 °C (200 °F) |
| Dark | 1:2 (1:1.5 for a short shot) | 22–27 s | About 91 °C (195 °F) |
The pattern behind the numbers: lighter roasts are harder to extract, so they get longer ratios and hotter water. Darker roasts give up their flavor easily, so they get shorter ratios and cooler water. The wizard only suggests a temperature change once the time is right and the taste still leans sour (light roasts) or bitter (dark roasts), because grind is the bigger lever.
Why change only one variable at a time
Grind, dose and yield all move both the shot time and the taste. Grind finer and add a gram in the same shot, and both changes slow it down: if it now tastes better, you don’t know which change did it, or whether one helped and the other hurt. Breville gives the same advice in its dial-in guide: change one variable at a time and write down what worked. The wizard’s log is that notebook, and it saves each dialed-in recipe by coffee name.
Grind changes are given as steps (the smallest click on your grinder) because every grinder’s scale is different. If one step makes a big jump in time, the grinder is coarse-stepped; if you need many steps for a small change, it’s fine-stepped. Our guide on when grinding finer helps, and when it hurts covers the limits.
When the grinder or basket is the problem
If you keep hitting the finest setting and the shot still runs fast, the wizard tells you to add coffee instead, but that’s a workaround. Espresso needs a grinder that can go fine in small, even steps; see our picks for the best espresso grinders under $200.
Pressurized baskets are the other common limit. Breville describes them as compensating for an imperfect grind and tamp, which makes them forgiving but hides the effect of your changes. If your machine came with single-wall baskets too, our Barista Express vs Barista Pro comparison explains how they differ in practice, and our guide to the best espresso machines for home covers what to buy if you’re upgrading.
Frequently asked questions
How long should an espresso shot take?
A common target is 25–30 seconds from pressing brew, but good shots can take anywhere from about 20 to 40 seconds. Light roasts usually run a little longer and dark roasts a little shorter. Time is a guide; taste decides.
What is the best espresso ratio?
1:2 (for example 18 g in, 36 g out) is the usual starting point. Light roasts often taste better longer, around 1:2.5, and dark roasts shorter, around 1:1.5 to 1:2.
Should I grind finer or coarser if my espresso is sour?
Usually finer, especially if the shot also ran fast. If it ran on time and tastes sour but strong, try letting it run a few grams longer first. If it tastes sour and bitter at once, fix your puck prep before changing the grind.
Why is my espresso sour and bitter at the same time?
That’s the classic sign of channeling: part of the puck over-extracts while the rest under-extracts. Break up clumps with a WDT tool, level the coffee, and tamp level before you change anything else.
Does a pressurized basket need dialing in?
Less than a single-wall basket. Grind matters less because the basket provides most of the resistance, so adjust dose and yield by taste. For full control, use a single-wall basket with a capable grinder.
Once you’re dialed in, put the shot to work with our latte art guide. Brewing filter coffee too? Try our pour over coffee timer, or check when your last shot of the day should be with the caffeine cutoff calculator.
Embed this wizard
Sources
- Breville: How to dial in espresso, the beginner's guide (18–22 g dose, 1:2 ratio, 25–30 second target (good shots from about 20 to 40 seconds), grind as the first variable, change one variable at a time, even distribution and a level tamp)
- Breville: Pressurized vs non-pressurized baskets (how dual-wall baskets compensate for grind and tamping, and why single-wall baskets need a fine, even grind)
- Coffee Parts: Espresso brew guide (ratios and shot times by roast level: light 1:2.5–1:3 in 28–38 s, medium 1:2–1:2.2, dark 1:1.5–1:2 in 20–28 s)
- Clive Coffee: How to brew dark, medium and light roast coffees (brew temperature by roast level: about 203 °F for light, 200 °F for medium, 195 °F for dark)
- Clive Coffee: How to dial in espresso with a new bag of beans (adjust grind first with everything else locked, then fine-tune temperature)
Share this guide
See more Coffee Informer on Google. Add us as a preferred source and our guides show up more in your Top Stories and AI results.
Add as a preferred source on Google