
Quick answer: To use a Flair espresso maker, preheat the brew head, grind about 18 g of coffee finely, tamp it and add the screen, fill the cylinder with water just off the boil, pre-infuse by pulling the lever gently for a few seconds, then press steadily at 6–9 bar until you have about 40 g of espresso. Grind finer if the shot runs fast, coarser if it chokes.
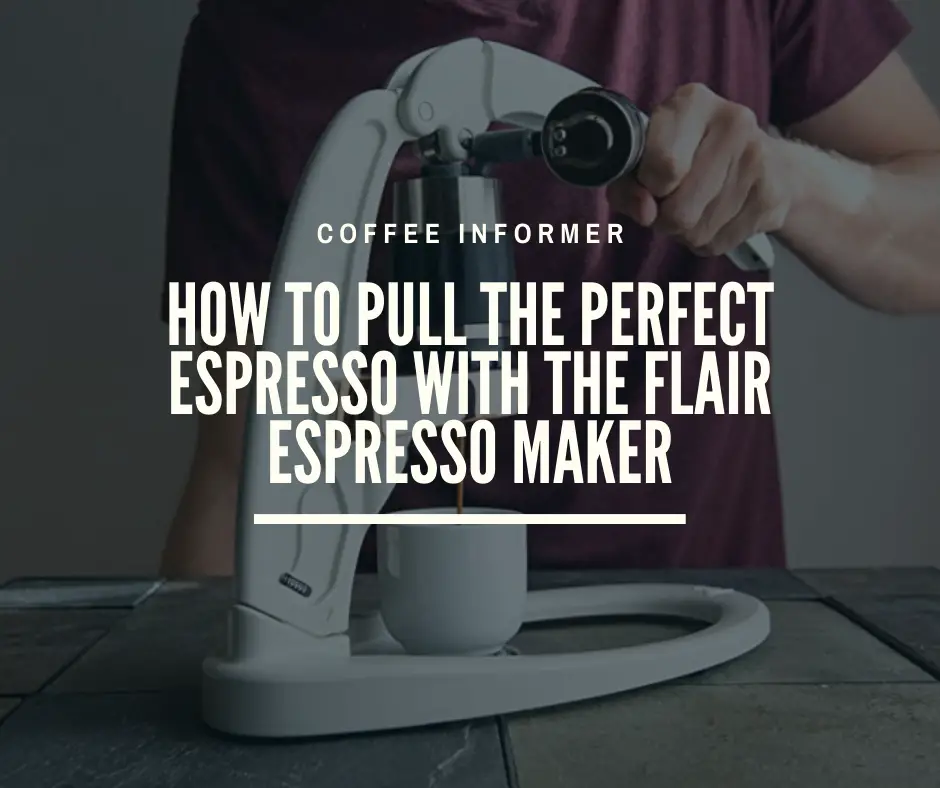
A manual espresso maker like the Flair puts you in control of every variable, which is both the fun and the challenge. This is the recipe and technique I settled on after a lot of trial and error. If you are still deciding whether to buy one, read our Flair espresso maker review first.
The shots are super floral and sweet with well-balanced acidity. If you really want to duplicate a shot of espresso that you get from a high-quality espresso maker, the Flair will get you there.
Lem Butler, 2016 U.S. Barista Champion
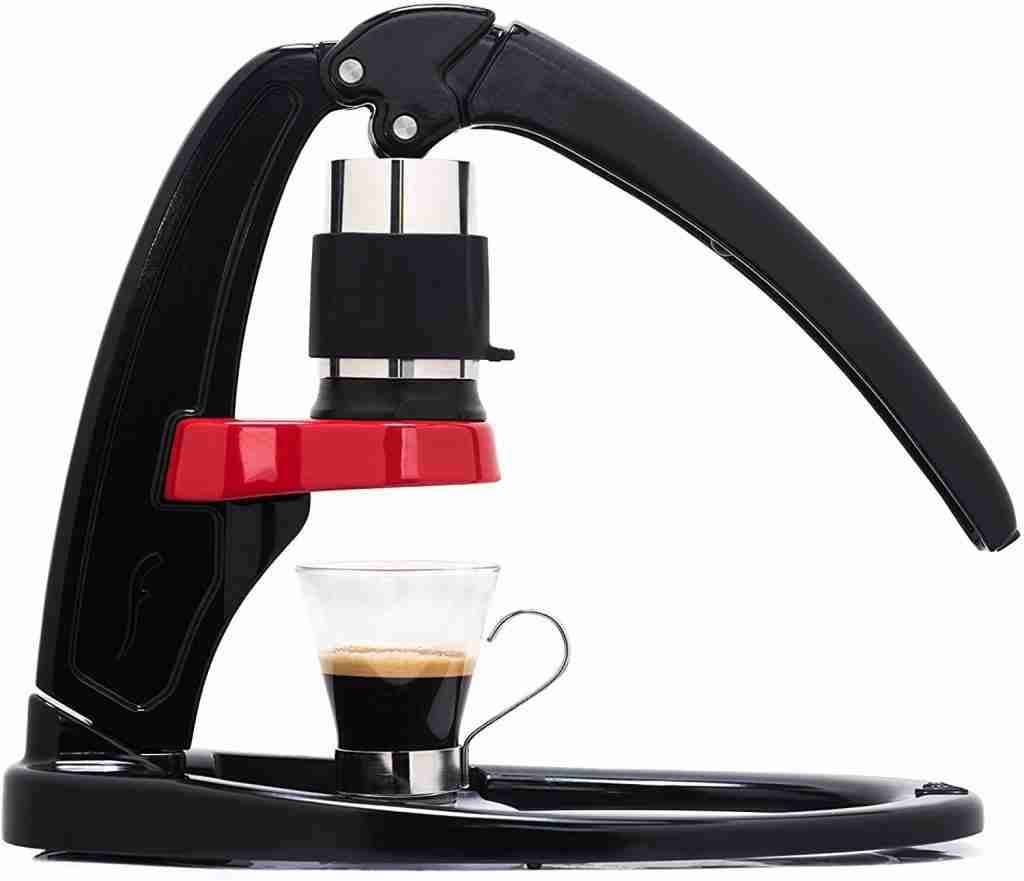
The Flair is a great-value portable espresso maker. Check the price on Amazon here.
In this guide 5 sections
My experience with the Flair
My first introduction to the Flair was Ryoya Takashima’s YouTube video reviewing the Signature Pro. He roasts and brews his own coffee with the Flair, and I find his setup and lifestyle videos fascinating. You can watch it here:
After watching it, I reached out to Flair and we met at the New York Coffee Festival, where Andrew Pernicano, Head of Brand at Flair Espresso, gave me a demonstration and the floor model from their stand. Ever since, the Flair has been my go-to whenever I want a good espresso.
How do you dial in your grinder for the Flair?
Great espresso starts with how you grind. You need a burr grinder for a consistent espresso grind. With tamping and dose kept the same, a coarser grind makes the shot run faster and a finer grind makes it run slower. If you’re choosing between Breville’s machines with a built-in grinder, read Barista Express vs Barista Pro.
In my experience the best shots came at 25–30 seconds of pressing; Flair’s own guide suggests 35–45 seconds at 6–9 bar, so use either as a starting point. If the shot runs too fast, note it in a coffee journal and grind finer; if it runs too slow, grind coarser. Change one thing at a time and you will get consistent results. For more on why, see when grinding finer helps and when it harms.
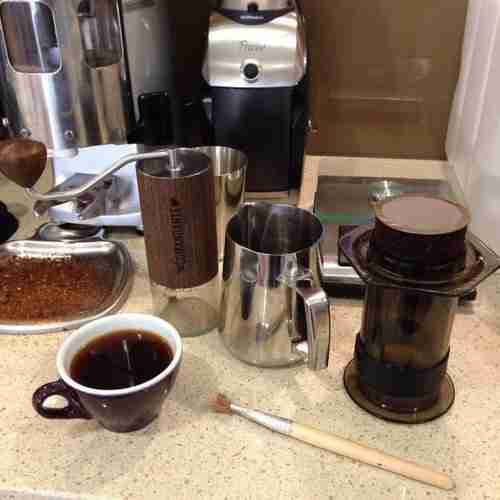
The grinder I recommend is the Comandante. Beyond the beautiful wooden exterior, it has stainless steel throughout the axle, crank and ball bearings, which makes grinding buttery smooth, and it can grind anything from Turkish-fine to French press-coarse. Check out the price on Amazon if you are interested.
What is the best Flair espresso recipe?
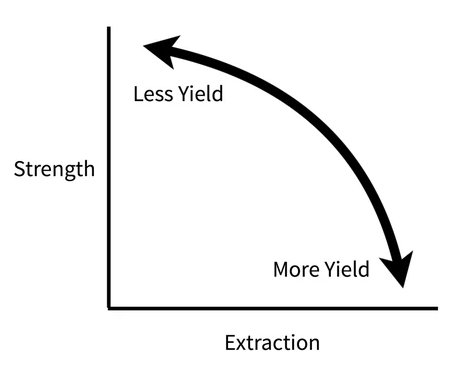
Every espresso comes down to dissolving flavor from the coffee into water, and three variables control it: dose, yield and time (driven mostly by grind size). Here is how each one moves the shot:
| More dose (same yield) | Stronger, less extracted shot |
| Less dose (same yield) | Weaker, more extracted shot |
| More yield | More extraction but will be weaker |
| Less yield | Less extracted but will be stronger |
| Finer grind | More surface area and contact so espresso will be more extracted and stronger |
| Coarser grind | Less surface area and contact so espresso will be less extracted and weaker |
Step-by-step: brewing with the Flair
- Boil filtered water and let it settle off the boil. Flair suggests 200–204°F (93–96°C) as a starting point, a little cooler for dark roasts.
- While it heats, grind 18 grams of coffee fine enough for espresso.
- Use the funnel to pour the grounds into the portafilter and tamp firmly. It may look like it won’t all fit, but it will once tamped flat. Put the screen on top; either side can face up.
- Preheat the brew head and your cup in boiling water for about a minute. A cold brew head pulls heat from the water and under-extracts the coffee.
- Assemble the portafilter and brew head and fill with water to the etched line. Expect around 40 grams of espresso.
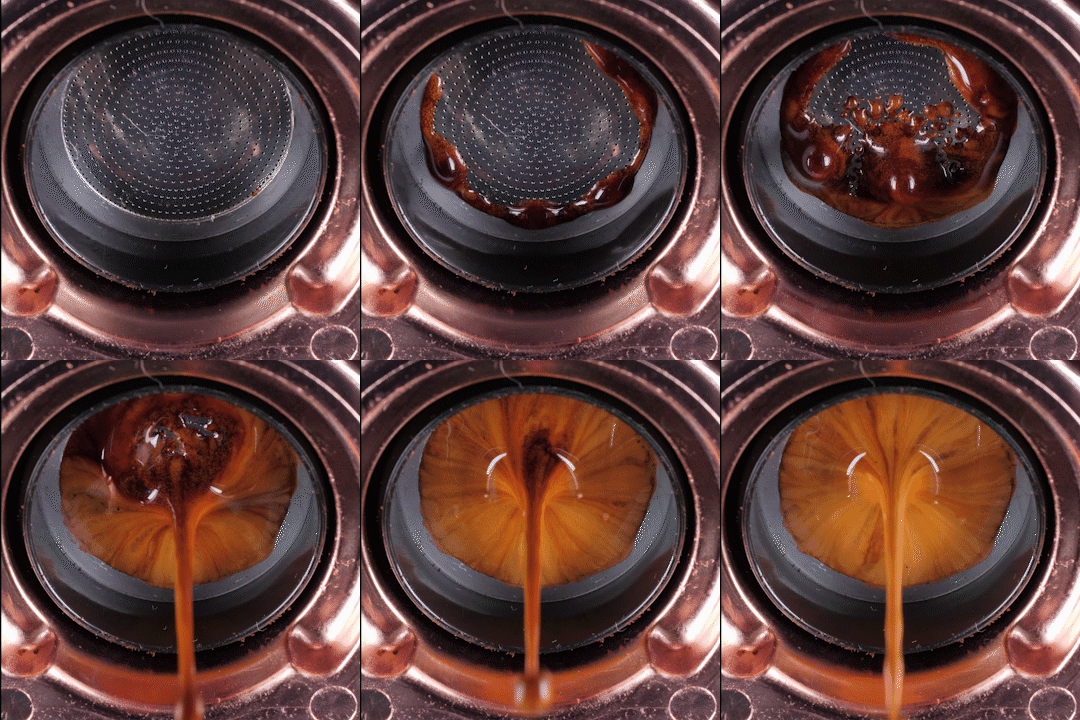
- Insert the piston and pre-infuse by pulling the lever down gently for about 5 seconds, before any espresso comes out.
- Press firmly and steadily until the espresso flows. If you have a pressure gauge, follow it, and time the shot as above.
How do you improve your Flair espresso shots?
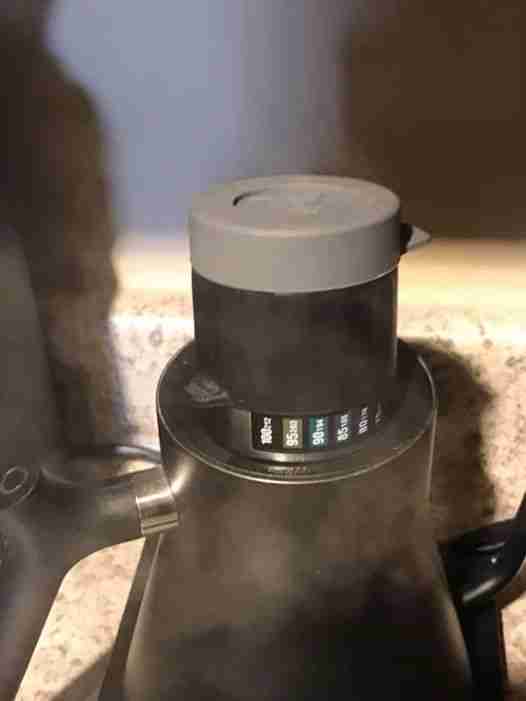
Preheat everything. This had the biggest impact on my espresso. In the beginning, every shot I pulled was sour, and preheating fixed it. A tip from Andrew Pernicano: set the brew head on the steam hole of your kettle while the water boils, and leave it there while you do the other steps.
Pre-infuse. Those few seconds of gentle pressure make a big difference if your espresso tastes sour, and bring out far more flavor. If sourness persists, see our guide to why coffee tastes sour.
Frequently asked questions
How does the Flair compare to other espresso makers?
It is an affordable alternative to electric machines and one of the best portable options. I have a personal connection with the Flair team, who were the first company to give me a product to review, so I may be biased. Still, handling it feels like a ritual, and it seems built with quality parts that will last.
Why does my Flair espresso taste sour?
Usually because the brew head was not hot enough or the shot ran too fast. Preheat thoroughly, pre-infuse, and grind finer.
How much coffee do you use in a Flair?
I use 18 grams. Check your model’s range: the current Flair Classic takes 12–18 g and the Flair 49 PRO 12–20 g. Check Flair 49 PRO price on Amazon
Share this guide
See more Coffee Informer on Google. Add us as a preferred source and our guides show up more in your Top Stories and AI results.
Add as a preferred source on Google